How to Use Riverside.fm: Step-by-Step Guide to Recording Professional Remote Podcasts
Are you trying to learn how to use Riverside.fm to record studio-quality remote podcasts and video interviews? You are in the exact right place.
High-quality video podcasting is more important than ever for audience engagement. However, traditional internet-dependent tools can leave you with laggy files and blurry video.
In this comprehensive guide, we will show you exactly how to use Riverside.fm from start to finish, so you can capture pristine 4K video, clean WAV audio, and easily generate AI clips.
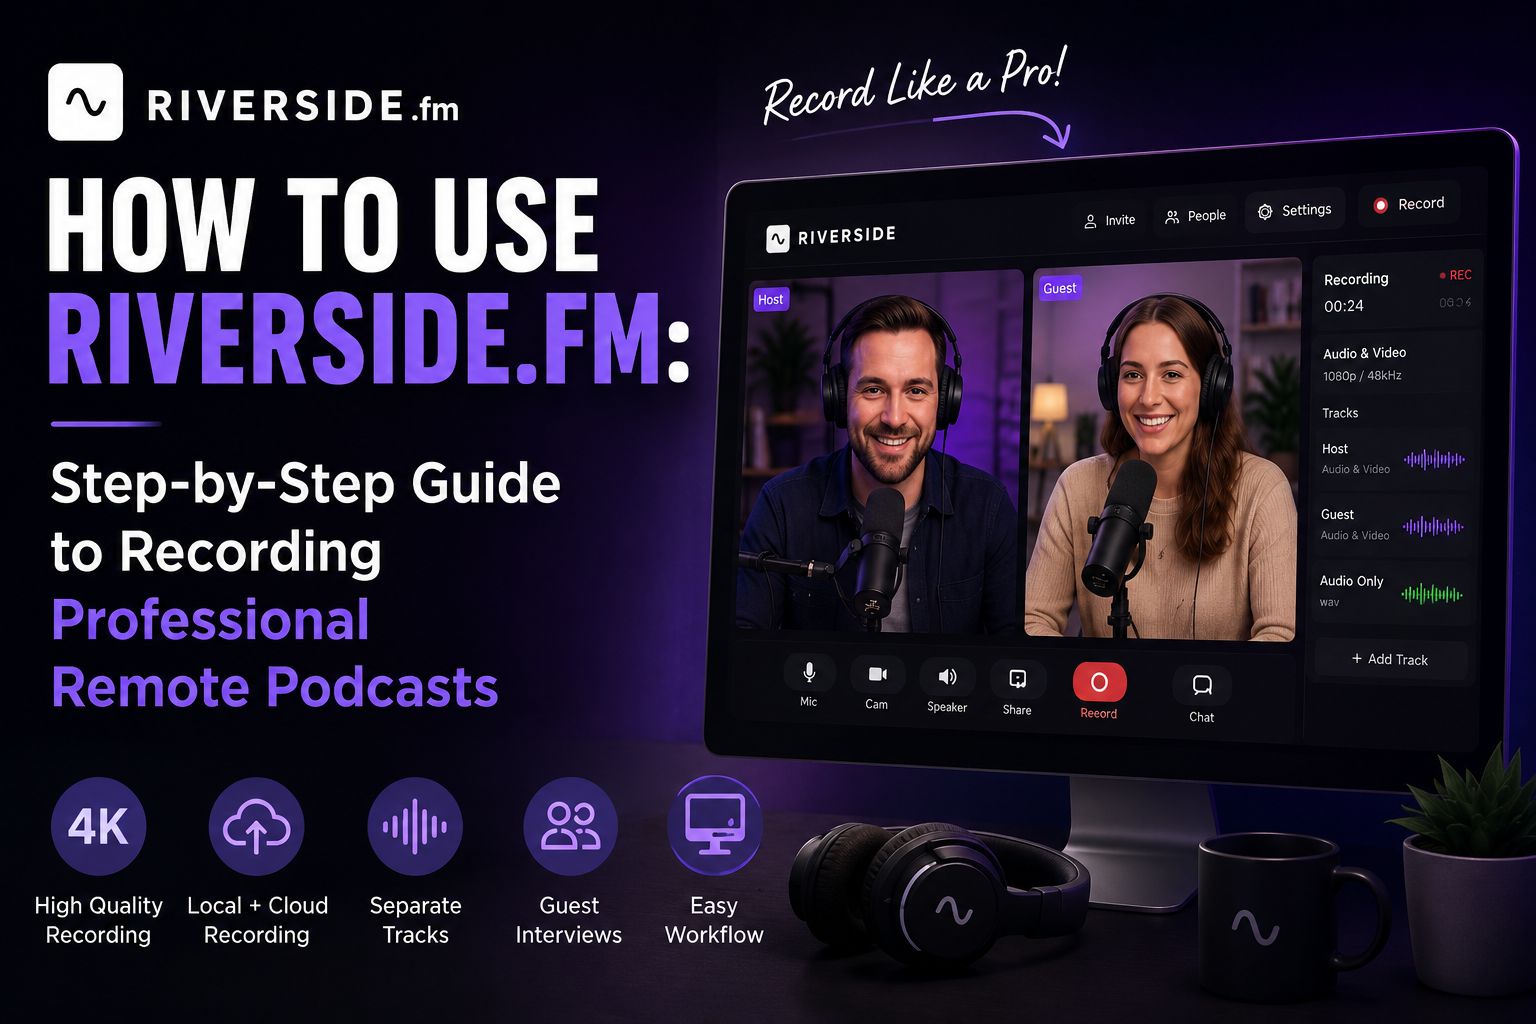
Why Learning How to Use Riverside.fm is Crucial for Podcasters
Unlike conventional video-conferencing software that records compressed streams over the internet, Riverside.fm is a specialized local recording platform.
This means the audio and video record directly on each participant's computer. The files are uploaded to the cloud automatically in the background. Even if someone's Wi-Fi drops completely, your final master file remains absolutely untouched by lag.
How to Use Riverside.fm (4 Easy Steps)
Step 1: Create Your Studio
First, we need to look at how to use Riverside.fm to create your virtual recording studio. Simply log in, click "Create New," name your studio, and select whether you want to record video or audio-only. You can also configure preset resolutions and live-streaming destinations.
Step 2: Invite Your Guests
Knowing how to use Riverside.fm guest link sharing is incredibly important. You can copy your unique studio link and send it to up to 8 guests. They do not need to download an app or sign up; they can join directly from Google Chrome, Edge, or their iOS/Android mobile apps.
Step 3: Record Your Episode
Once everyone is in, understanding how to use Riverside.fm local recording engine is essential. Ensure your mic and camera are selected, then hit "Record." Riverside will write uncompressed WAV audio and 4K video locally. The status bar will show the background upload progress of each guest's file.
Step 4: AI Post-Production
A huge part of learning how to use Riverside.fm is mastering its post-production. Once you hit stop, go to your dashboard to download separate tracks or use the built-in AI Editor. You can remove background noise, edit video by editing the generated text transcript, or automatically extract vertical clips.
Always remind your guests to keep their browser tab open for a few seconds after the recording stops. This ensures all of their locally recorded high-definition audio and video files are completely uploaded to your Riverside cloud dashboard.
How to Use Riverside.fm: Key Features Table
| Feature | What It Does | Why Creators Love It |
|---|---|---|
| Local Recording | Records directly on guest computers | Prone-to-lag internet cannot ruin your 4K video files |
| Separate Tracks | Gives individual files for each guest | Makes editing, color-grading, and volume-matching easy |
| Magic Clips | Generates AI short-form videos | Saves hours of manual clipping for TikTok, Shorts, and Reels |
| Text-based Editor | Edit video by editing the transcript | Deleting a word in the text automatically cuts the video clip |
| Multicam Mode | Turns your smartphone into a secondary camera | Captures multiple camera angles with no extra hardware cost |
Maximizing Your Production Workflow
To summarize how to use Riverside.fm successfully, always ensure your hardware settings are fully configured before starting a live session. Test your microphone inputs and lighting, and keep an eye on your storage space.
For creators looking for browser-based broadcasting rather than pure local studio recording, you can also explore our curated list of StreamYard alternatives to find the best tool for your production.
Final Thoughts
In the modern digital landscape, understanding how to use Riverside.fm is one of the best skills you can learn as a podcaster, brand, or content creator.
By bypassing internet quality issues and utilizing smart, AI-driven post-production, Riverside.fm makes producing top-tier, high-resolution audio and video accessible to anyone.
Ready to elevate your remote podcast production? Sign up for a free trial, invite a guest, and start recording crystal-clear episodes today!
Get Started with Riverside.fm